DIY: Polka Dot Wooden Photo Mounts
I'm always looking for fun, creative ways to get my photos displayed around the house. Today, I'm sharing a crafty tutorial making wooden photo mounts, perfect for 4x4 Instagram photos.
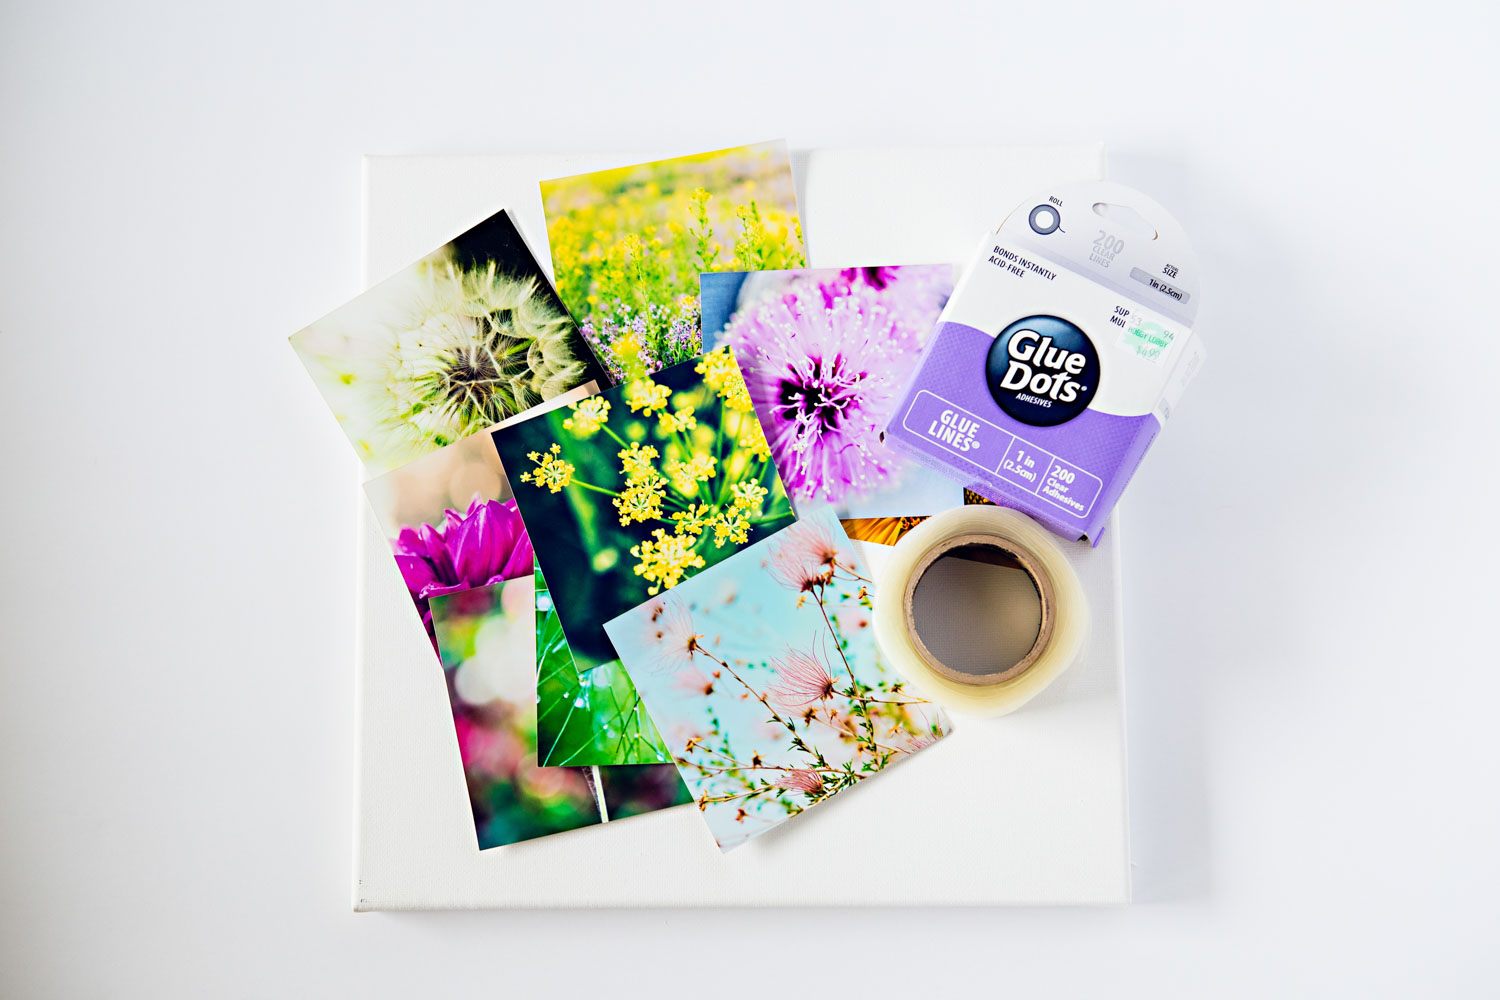
First, you'll need some supplies: wooden craft boards, a couple shades of acrylic paint, some ribbon, a brush, circle stamp (I first tried using a cork, but it didn't work very well, so I ended up using a rubber stamp) and stapler.
1. Using your foam brush, apply a light coat of acrylic paint to the wooden board. 1. I used a very light coat so that I could still see the wood grain and some wood peeking through. If you prefer, coat it heavily for a totally different look. 3. I like to work in mass production, so I made 6 at once. 4. Apply a small dab of the second shade of paint to your foam brush. 5. Using the brush as a stamp pad, press your stamp into the paint, and apply to the board. 6. Be sure to stamp some off the edge for a less perfect look.
To finish the boards, I added a little bit of paint to the edges and outlined the front as well. It sort of completed the look for me.
Next, cut your ribbon just by eyeballing the length you'd like to hang them at. Finally, when they are dry, flip over and staple them to the back. The wood is very soft, so it's easy to staple though with a nice, swift hit.
There you have it. Cute little photo mounts perfect for displaying those phone photos.
Latest POSTS
Archive
- Ballet
- CSU Oval
- DIY
- Estes Park
- FL local tourist
- Lory State Park
- Nutcracker
- RMNP
- Snow
- WCA Gala
- arapahoe bend
- architecture
- art alley
- baby
- back to school
- ballet
- beach
- black and white
- black hills
- cake pops
- camping
- canvas
- canvas collage
- cast iron teapots
- celebrations
- children
- christmas
- couples
- craft fair
- crafty
- dance
- downtown Greeley
- fall
- families
- fine art
- flowers
- food
- funny
- happy new year
- headshots
- hiking
- home decor
- kelly pepper
- keystone
- kids
- landscapes
- legos
- macro
- make your own canvas
- massage


